As the weather transitions from winter to spring (a bit slower where I live in the mountains) it’s time to think about Easter baskets and festive holiday decorating. I love decorating Easter eggs and I also love temporary tattoos, so naturally it’s fun to pair them together! These eggs are super easy to make and all of the directions are right here. All you need to do is hard boil your eggs, dye them and gently press on temporary tattoos. Check out the photos her for a step by step. Happy decorating!
Here are some beautiful tattoos you can order at Amazon.
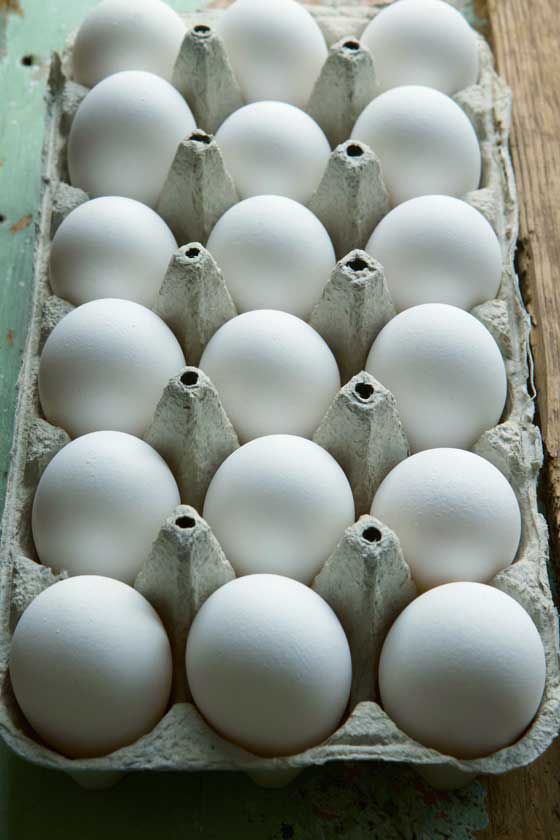
Step 1: Hard boil your eggs and let them cool.
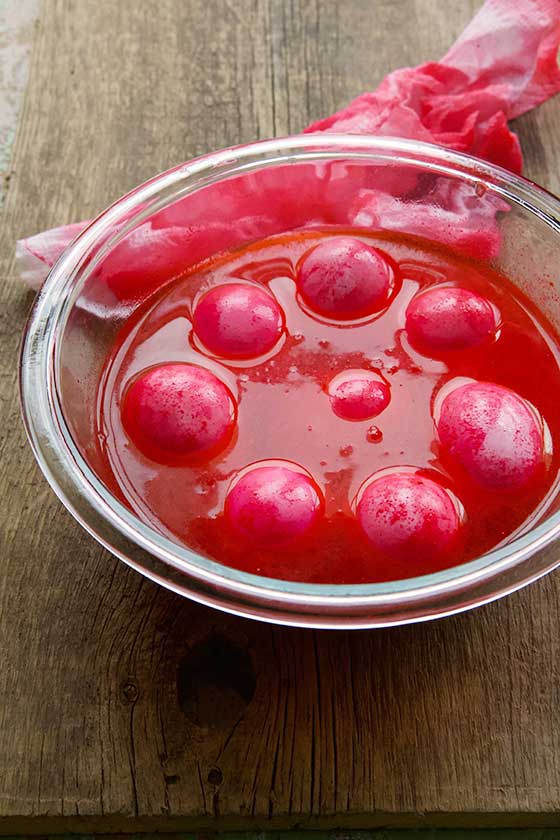
Step 2: Put on latex or rubber gloves to protect your hands from getting dyed. Mix white vinegar (2 tsp per 1/2 cup of water) into into hot water. Drop some food grade gel or liquid dye into the hot water and whisk to combine. I like my eggs spotty, so I used gel color and only partially mixed it. Leave some eggs in longer than others for a deeper color or softer color.
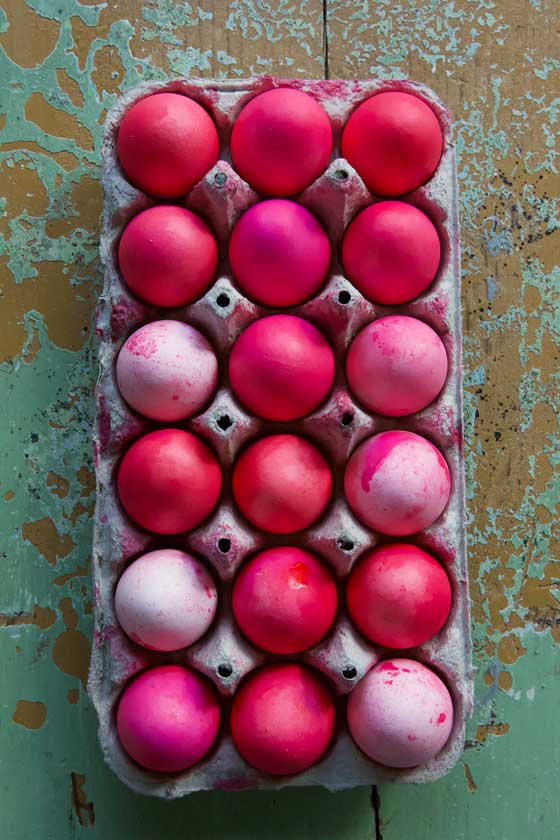
Step 3: Pat the eggs dry with paper towels and let them dry completely.

Buy these tattoos or ones like them for this metallic effect.
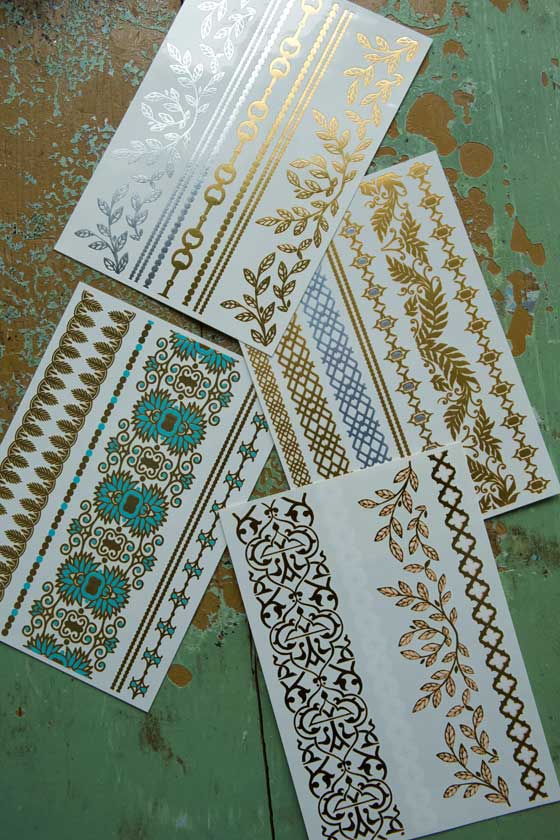
Step 4: Using a pair of scissors, cut the tattoos out, sized to fit the eggs. Peel off the plastic coating.

Step 5: Moisten a paper towel with water. Place the tattoo image side on the egg and moisten the paper back of the tattoo with the towel while gently pressing down on it. Leave on for at least 30 seconds or until you see that the tattoo has transferred to the egg. Gently press the tattoo into the egg with a clean, dry cloth to finish. Let the eggs dry again.

Enjoy looking at your beautiful Easter eggs!


